GW2. A complete achievement guide of the Living World Season 2 Episode 3 “The Dragon’s Reach Part 1”.
The Dragon’s Reach Part 1 (Story Journal)
“The Dragon’s Reach Part 1” Mastery – 5AP – 1MP
This is the meta achievement for which you need to complete all 6 eligible achievements. The rewards for this are 5AP, 1 Mastery Point and the Sandford Family Ascended Ring with Nomad’s stats.
Story Completion Achievements – 0AP – 1MP
The Dragon’s Reach Part 1 – 0AP – 1MP
Journal: “The Dragon’s Reach, Part 1” Completed
Once you complete the story episode, you will earn this achievement and unlock all the rest of the achievements, you can replay the episode and you will see Purple markers to replay each instance necessary for achievements. In other words you can’t earn any achievements during your first playthrough.
Story Instance Achievements – 60AP
Nary a Pitfall – 10AP
Story Instance: The Waypoint Conundrum
For this achievement you need to complete the instance without triggering any trap, some traps are automatic and some are triggered by your actions on the generator if you use it incorrectly. You need to use Scruffy’s Detection Mode to discover the traps. Here you can see a map where all traps are located with white traps being triggered by stepping on them and pink being triggered by your decisions.
- You can avoid trap #1 and #2 by discovering them with Scruffy’s Detection Mode
- Trap #3 you need to get to the Liquid-Containment Chamber and tell Scruffy to “Reinforce containment device”, then interact again with the Chamber and grab a sample.
- Trap #4 and #6 avoid them by discovering them with Scruffy’s Detection Mode.
- Trap #5 you need to interact with the Asuran Power Generator and select the following options on the dialogue box:
- “Turn off the generator”
- “Open the generator’s casing”
- “Deactivate the aetheric field”
- “Grab the armature from the generator”
- Finally for Trap #12 you need to pick the third chest, do NOT open the ones with an alert or combat icon:
You will get the achievement once you get the parts and return to Taimi, be sure to discover the traps with Scruffy because on the way back you can’t use it.
NOTE: This achievement is mutually exclusive with “Leave No Survivors” and “Crate Scrapper”. You will need to run the instance twice.
Leave No Survivors – 15AP
Story Instance: The Waypoint Conundrum
This achievement is the opposite to “Nary a Pitfall” and that’s why they are mutually exclusive. You need to complete the instance while triggering all 12 traps. You will complete the achievement “Crate Scrapper” at the same time.
- Traps #1, #2, #4, #6, #7 and #8 are very easy, just walk into the area and enemies will spawn:
- Trap #3 you need to interact with any of the containers to spawn Oozes to kill:
- Trap #5 you need to interact with the Asuran Power Generator to spawn a portal with enemies, select the following options on the dialogue box:
- “Turn off the generator”
- “Open the generator’s casing”
- “Grab the armature from the generator”
- Trap #9 is the one for the achievement “Crate Scrapper”, which will spawn a champion Ooze to kill.
- Trap #10 and #11 are linked, you need to get close enough to the area of the trap #10 to trigger the Assassin spawn, but DO NOT aggro, as soon the enemy appear leave towards the trap #11, the gates will be open, kill the Inquest inside and return to kill the Assassin at trap #10, be aware at 50% Health she will start running, don’t let her escape.
- Trap #12 is the last one, and you need to do it in this order or you will lose the achievement. Interact with the middle chest, you will see the combat icon on the dialogue box, selecting this option will spawn a Mordrem Wolf to kill. Once you are done, you get the achievement instantly, if you don’t then you missed a step.
NOTE: This achievement is mutually exclusive with “Nary a Pitfall” but it will include the achievement “Crate Scrapper” so you will need two runs to get all achievements on this instance.
Crate Scrapper – 5AP
Story Instance: The Waypoint Conundrum
This achievement will be completed with “Leave No Survivors” because you need to kill the Champion Ooze which spawns on the activation of trap #9.
Don’t Knock Yourself Out – 10AP
Story Instance: Foefire Cleansing
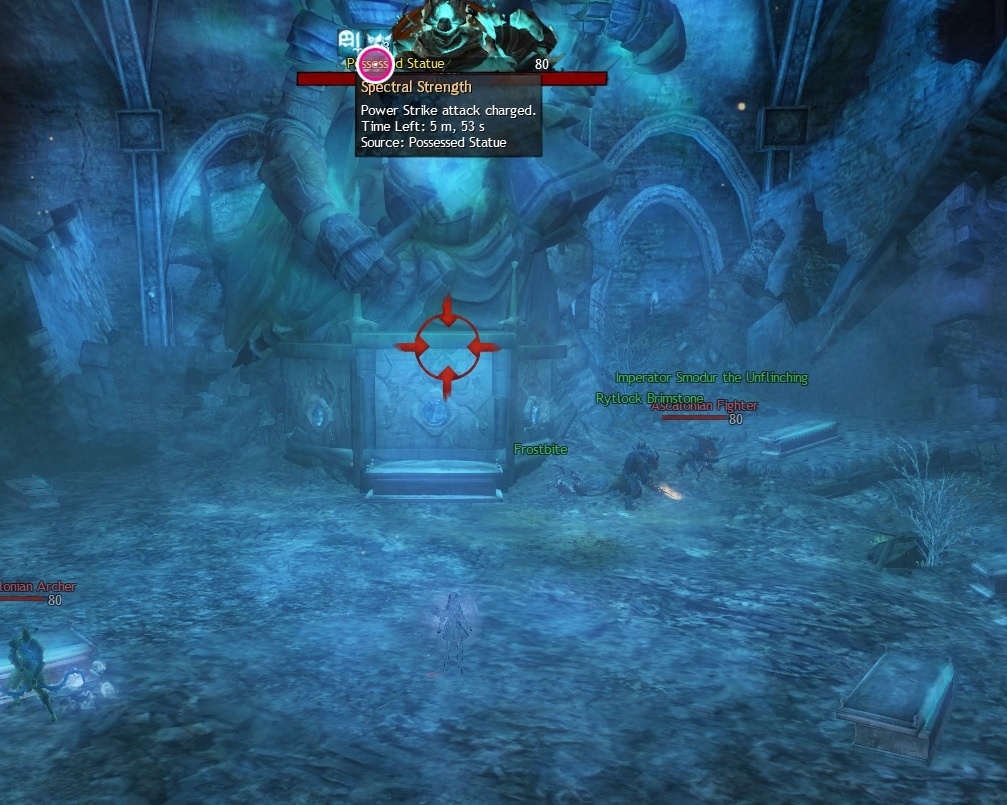
For this achievement, you need to avoid any knockback or knockdown attack from the statue. Mostly they are red circles that you have to avoid, but it can be also from the Spectral Flames following you. This is pretty easy to do, just pay attention to the big red circle when the Statue is about to hit with the hammer, other red circles might be rocks falling, and the Spectral Flames are very slow you need to kite them for like 5 seconds until they disappear.
Not So Buff Now – 5AP
Story Instance: Foefire Cleansing
You will earn this achievement if you complete the instance without any Ascalonian Mender reaching the statue to heal it or buff it. A high DPS build is good for this so you can kill the Menders quickly and damage the statue.
NOTE: This achievement is mutually exclusive with “Strike’s Over”. You will need to run the instance twice.
Strike’s Over – 15AP
Story Instance: Foefire Cleansing
For this achievement, you need to avoid the “power-strike” attack from the statue. You will need to let three Menders reach the statue in a row, to buff it. Once the statue is charged, it will do the attack witch starts a shockwave that you have to dodge through. You will get the achievement once you defeat the statue.


